
Going to the market is even more fun when you’re collecting your fruits and veggies in a macrame bag that you’ve fashioned yourself.
In this article, we’ll walk you through how to make your own, so go grab your favorite color cord, and let’s begin!
Table Of Contents
- Tools And Supplies For A Macrame Bag
- Knots To Know
- Making A Macrame Bag: Step-By-Step
- 5 Macrame Bag Variations
Tools And Supplies For A Macrame Bag
As we said, this is an easy tutorial for a macrame bag, so there aren’t too many supplies needed. Here’s what you’ll want to have on hand:
- Scissors
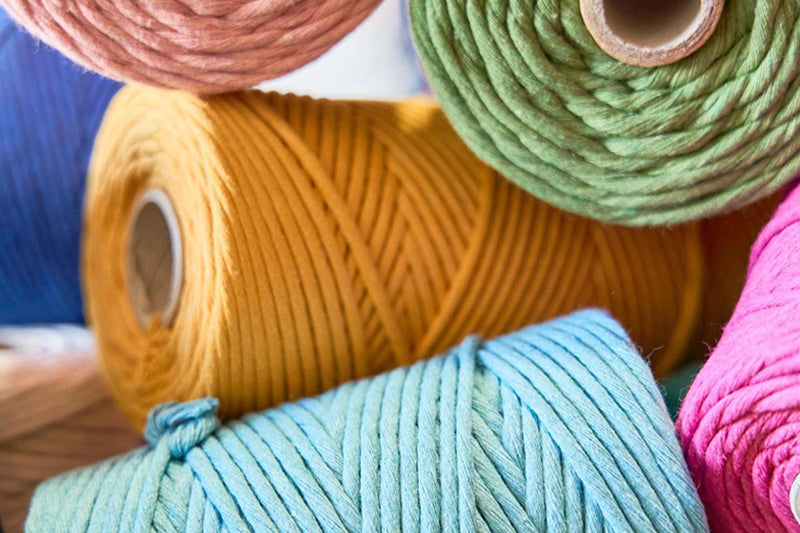
- Ganxxet Braided Cotton Air Rope Macrame Cord 4-5mm Thickness t
- Glue gun
- Measuring tape
- Dowel
Knots To Know
Once you’ve collected all of your supplies, you might want to brush up on the knots you’ll need for this project. The good news is there are only a few. Follow the steps below (and maybe watch the videos, too) for a quick refresher.
Lark’s Head Knot
The Lark’s Head Knot is a basic knot that begins many projects. Simply fold a length of cord in half and slip the folded end behind your dowel. Pull the cord up and over the dowel. The loop will be in front and the tails of the cord will be behind.
Thread the cord through the loop and pull tight. Easy!
Square Knot
Affix two strands of cord to a dowel using a Lark’s Head Knot, resulting in four tails of cord. Take the left-hand strand and make a “four” by crossing it over the other strands of cord.
Move the right-most cord on top of the one that you just crossed over and then underneath the center two cords to come up through the center of the “four.” Pull tight. Repeat this on the opposite side (making a backward “four”) to finish off the knot. Pull tight.
Alternating Square Knot
The only difference when making an alternating Square Knot is its starting position.
To make a row of Alternating Square Knots underneath a row of Square Knots, skip the first two left-most strings of the above Square Knot, and tie a Square Knot with the remaining two strings of that knot and the first two strings of the next.
The knot will be positioned in the center of the ones above.
Making A Macrame Bag: Step-By-Step
1) Organize Supplies And Cut The Cord
Gather your supplies and cut your macrame cord. Two of the cords should be 30 inches, while the other 24 should be six feet long.
2) Create The Handles
Fold each of the two 30-inch cords in half, and tie a knot at the end to create a loop (one loop per cord). These two circles will be your handles. Make sure they are the same size with the knots tied in the same place.
3) Attach 6-Foot Cords Onto Handles (12 On Each)
Fold a 6-foot cord in half and find the center point. Attach it to one of the handles with a Lark’s Head Knot. Repeat 11 more times on the first handle, and then 12 times on the second handle.
4) Create A Row Of Square Knots
Take one of your handles and complete a series of six Square Knots under the Lark’s Head Knots. Make sure to pull them tight so they’re snug against the Lark’s Head Knots. Repeat on the second handle.
5) Tie Alternating Square Knots
For the next row, tie Alternating Square Knots. The gaps left between them can be sized to your preference. Keep in mind you don’t want them so big that things will fall out of the bag. Repeat on the second handle.
6) Complete Another Row Of Square Knots
Add another row of Square Knots, leaving the same amount of space that you had in the prior row. Repeat on the other handle.
7) Start Attaching The Sides
Place the handles atop one another so you can see if the gaps are a similar size and the knots are lined up so the bag appears symmetrical. Now you can begin attaching the sides.
Make sure the first row of Lark’s Head Knots are both facing in so that the outside of the bag reflects identical sides. Turn your bag to the side and make a square knot to attach the leftmost cord on both front and back, creating the side seam.
Use the same amount of spacing as you had with the earlier knots.
8) Complete 10 Rows Of Alternating Square Knots
Continue making Alternating Square Knots the whole way around the bag. Repeat for 10 rows.
Once you’ve reached your desired size, make a row of Square Knots all the way around that are pulled tight. Repeat with a row of Alternating Square Knots.
9) Complete The Bottom Of The Bag
Turn the bag over and find the center four ropes along the seam. Flip them up out of the way. Take the next two ropes (one on each side of the center) and double knot them, pulling tight. Repeat all the way down the bottom seam of the bag.
10) Add Fabric Glue If Needed, Cut Fringes, And Flip
If your knots are slippery, reinforce them with fabric glue. Then cut the fringes short and flip the bag inside out so the short fringes are on the inside of the bag.
Congratulations: You’ve created a macrame bag!
5 Macrame Bag Variations

Now that you’ve mastered a simple bag, why not try another variation? Here are five of our favorite patterns.
1) Macrame Bag With Wooden Handles
We love this one for its wooden handles giving a little extra polish to the design.
2) Patterned Macrame Bag With Round Handles
This one uses a lot of the same knots but incorporates some interesting patterns.
3) Mandala II Macrame Bag
This version of the bag takes a more structured approach, without losing its airiness.
4) Two-Toned Macrame Bag
This bag gives you two options for color. Wear it on the side that best complements your outfit!
5) Drawstring Macrame Bag
This cross-body bag features a drawstring, making it easy to close.
Bonus! If you want an even easier option, try one of our DIY kits, like the Macrame Market Bag Diy Kit or the Chunky Macrame Handbag DIY Kit. It’s got everything you need to make your own cute tote.
It’s In The Bag!

As you can see, there are lots of different ways to make a macrame bag once you’ve mastered the basic steps.
The key to a high-quality bag is the cord. GANXXET Soft Cotton Cord Zero Waste is a great choice for all of your DIY macrame, knitting, and crochet projects, as it’s natural, durable, and comes in tons of different colors. Even better, our cord is upcycled, so there’s no waste.
Choosing a GANXXET cord is both good for your project and good for the planet. Now let’s get crafting!


